Michael’s Basic Cake Decorating Class – Day 4
(You can read about the last three classes – Day 1, Day 2, and Day 3).
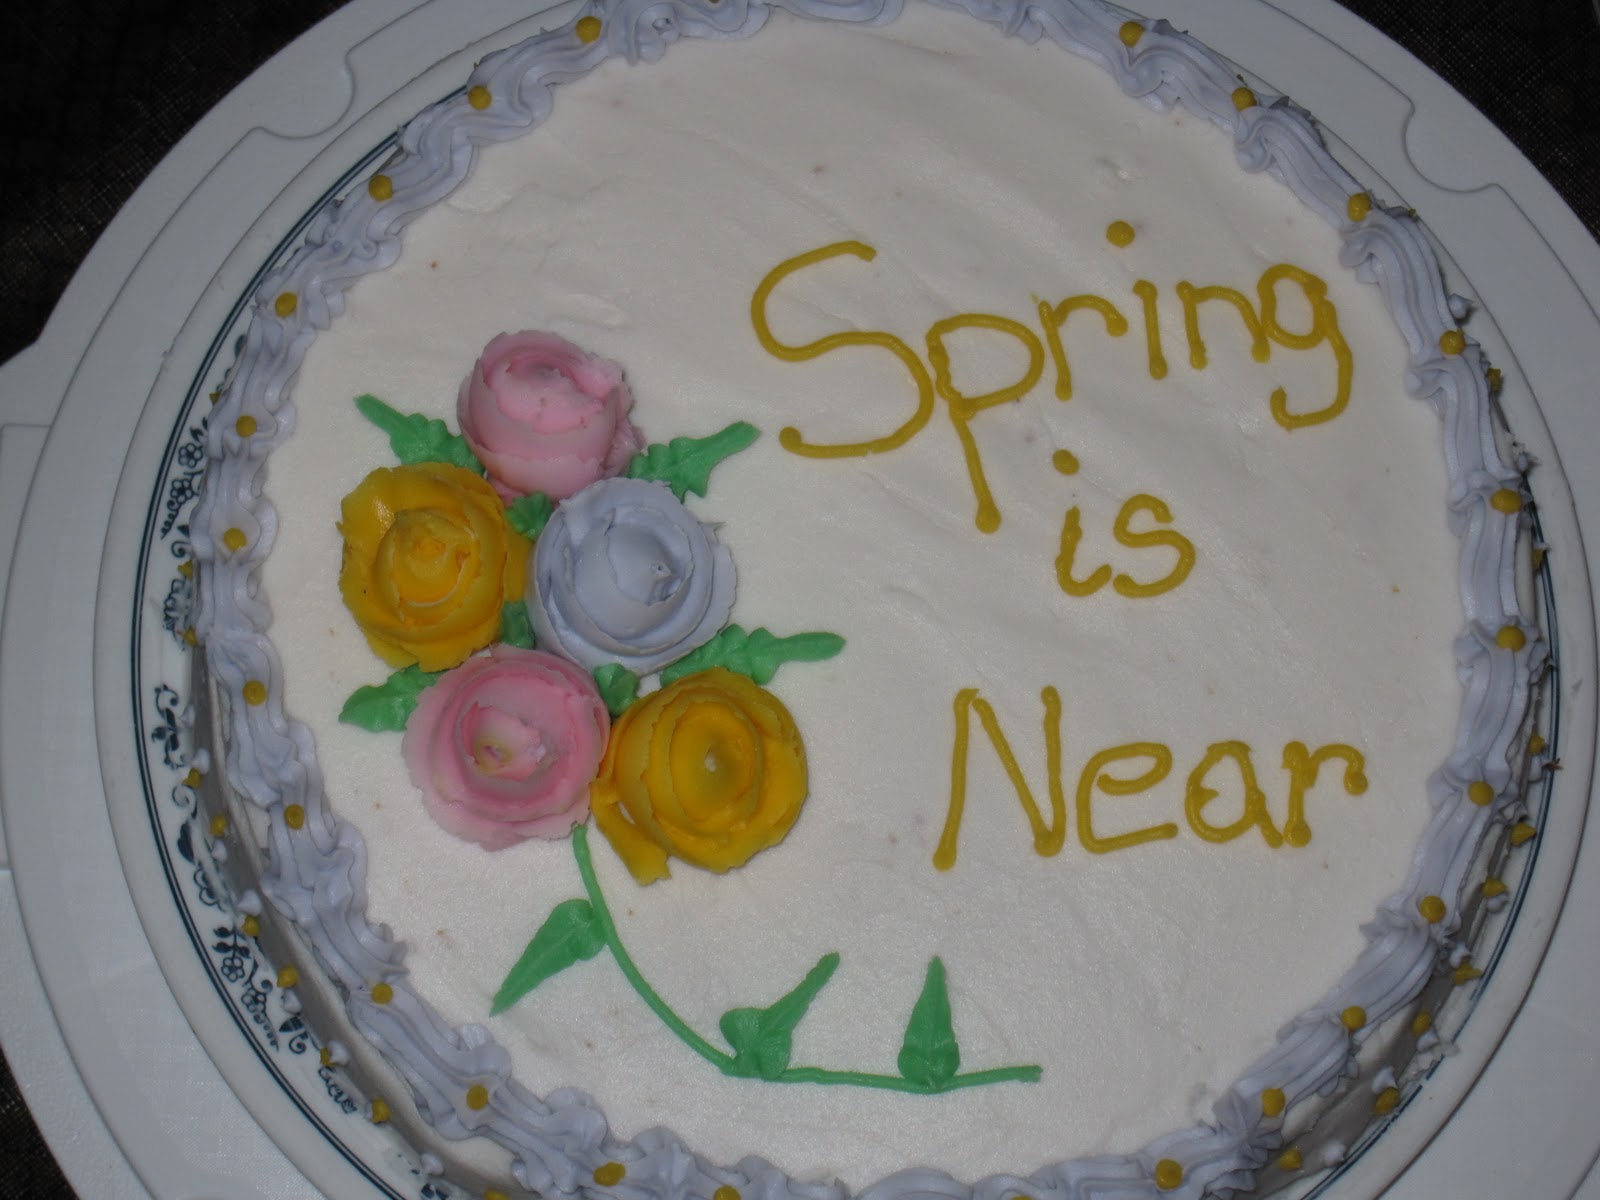
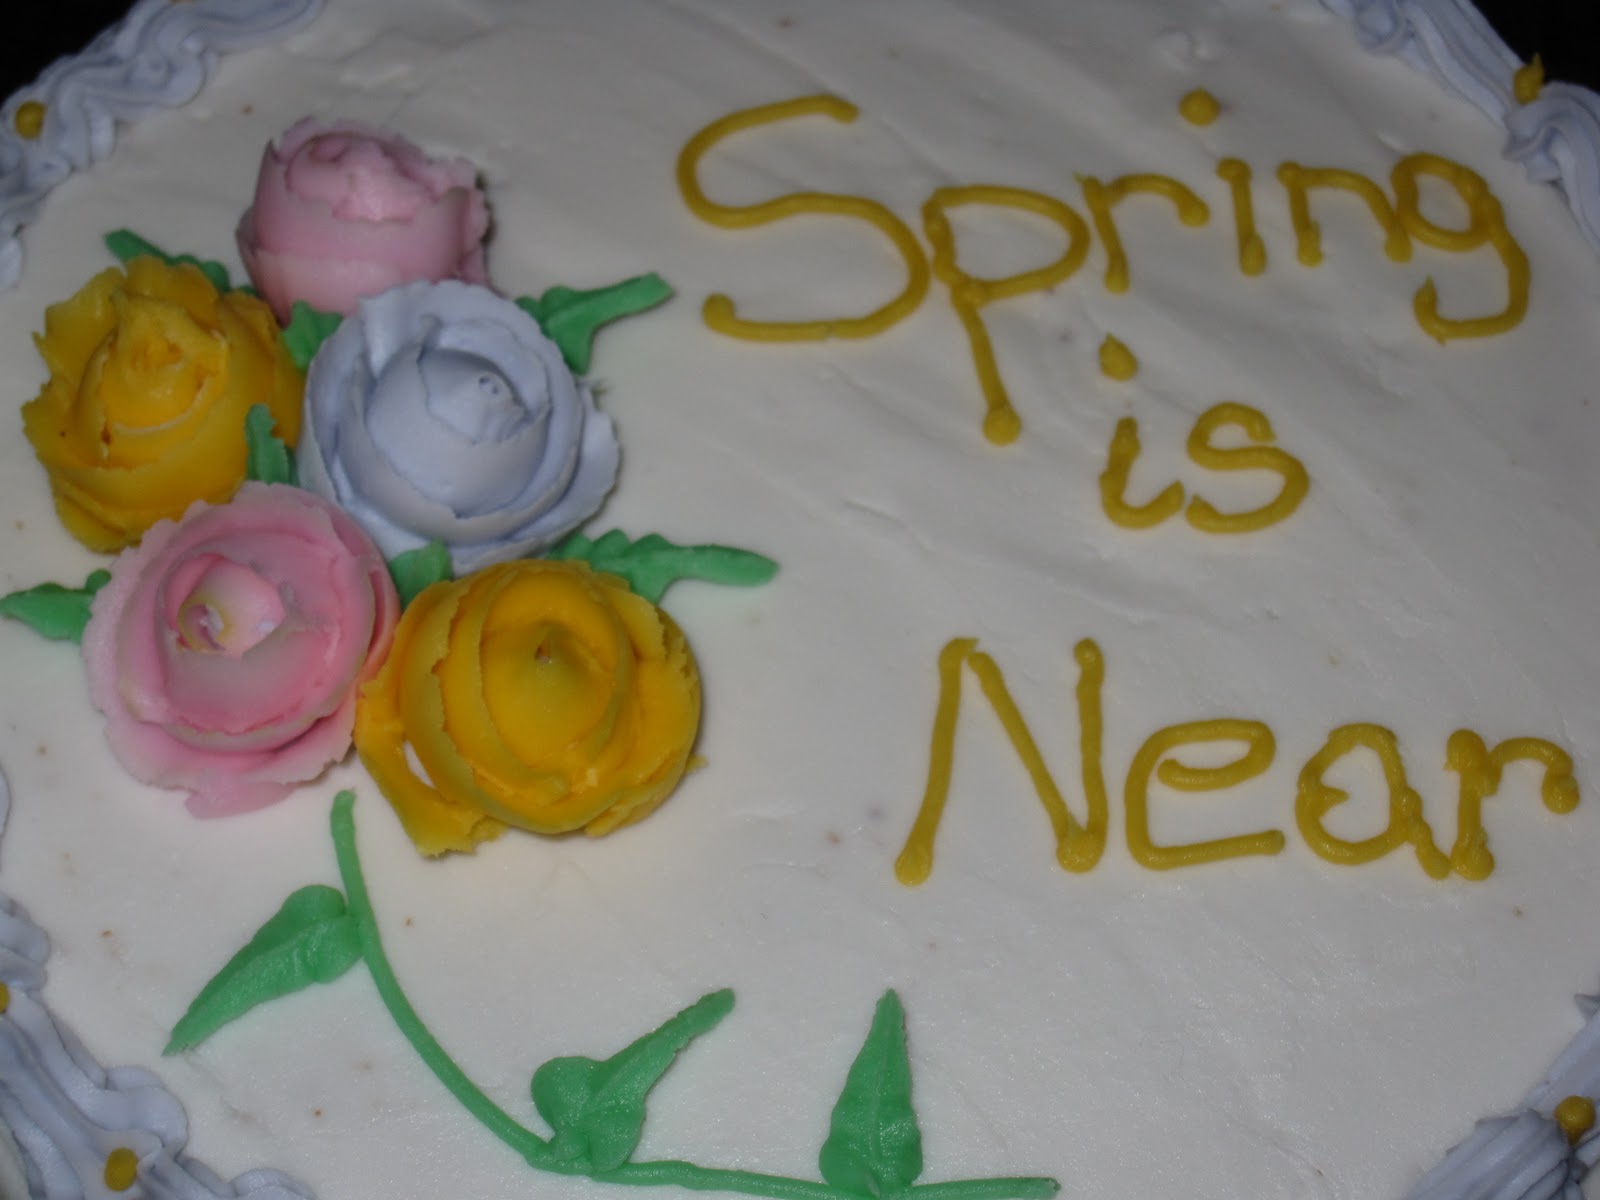
Spring is near.
Is it though? I’m having a hard time believing it. At the beginning of the week, it snowed, but now it’s raining. I seriously haven’t seen the sun in about five days. Isn’t seeing the sun once in a while supposed to be part of the whole spring thing?
Hehe, spring thing. (Don’t mind me, I’m tired, its been a long, non-baking kind of day).
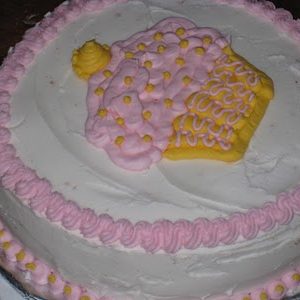
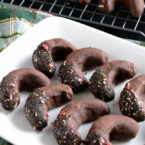
I didn’t have anything interesting to write on my final cake for my Michael’s basic cake decorating class last night, but I did enjoy learning to make the roses.
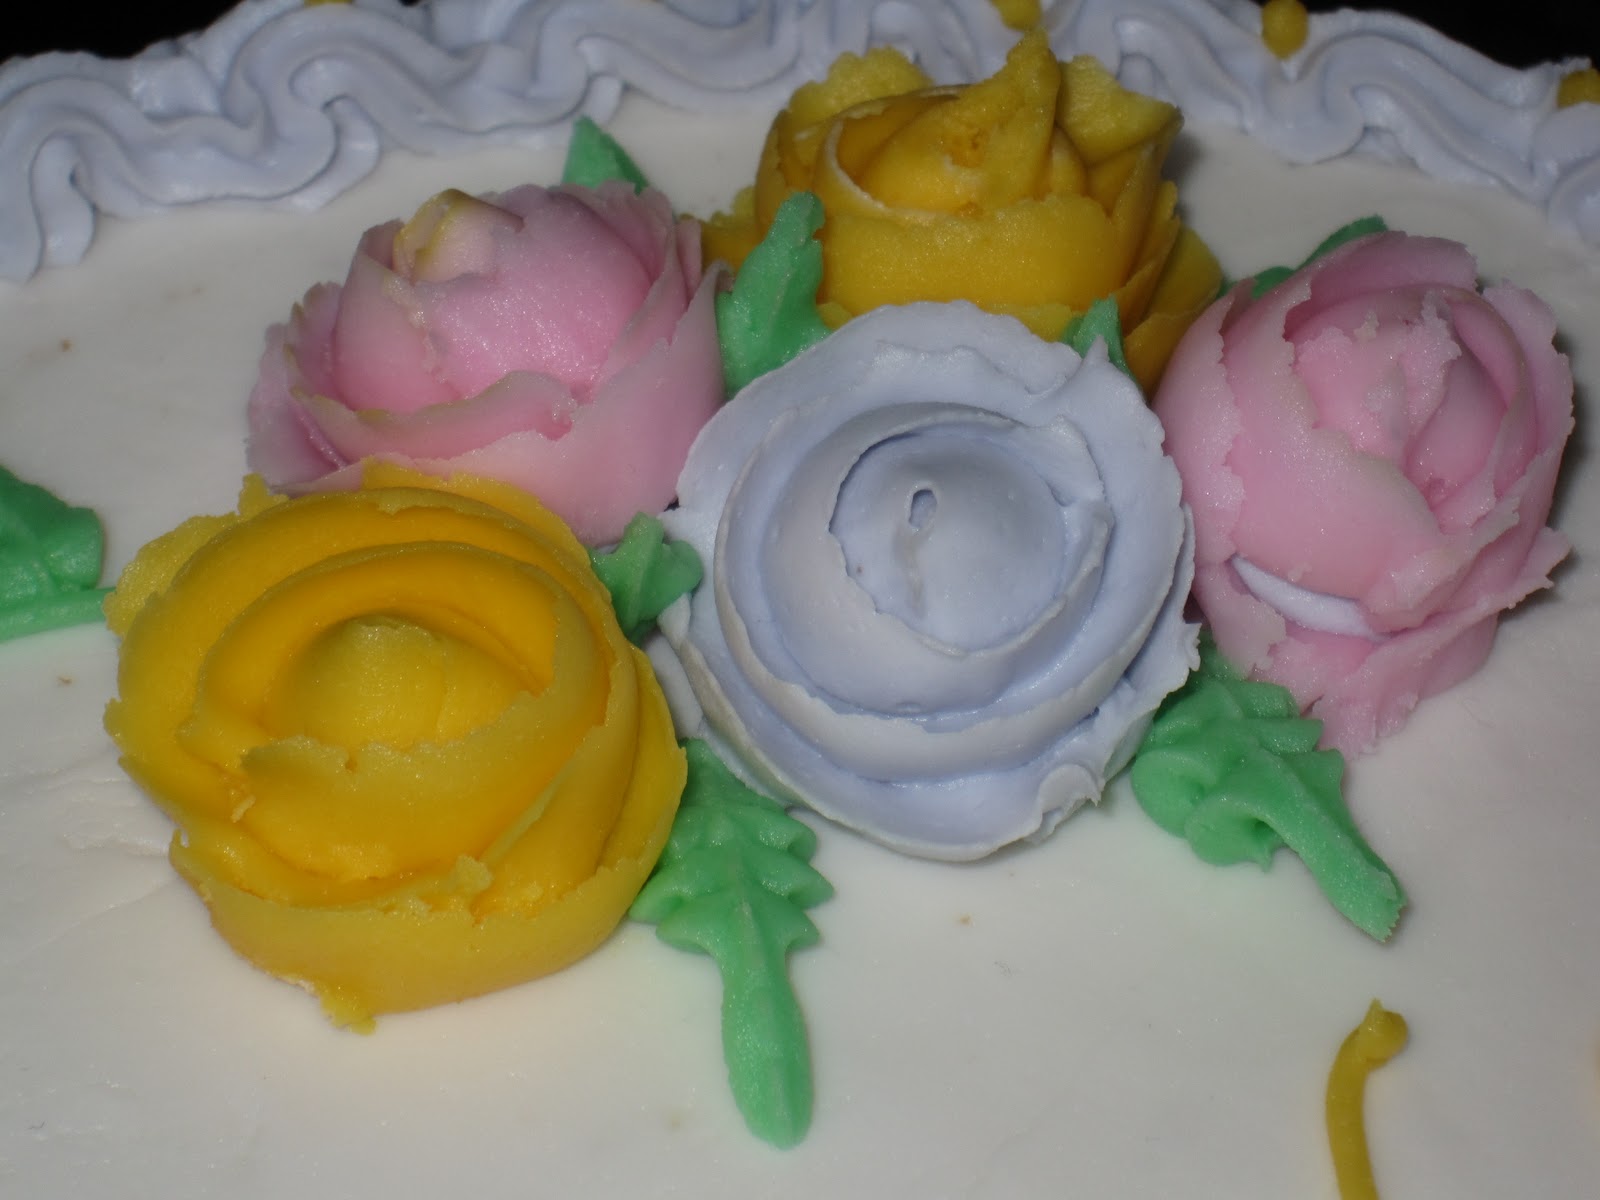
These are called ribbon roses and they are the simplest roses to make. I had a bit of a hard time because my icing was a little soft (stiff icing is key for making these).

I also loved the border. I attempted the border shell, but the icing decided it had a mind of its own halfway around the cake.

The cake was a homemade marble cake made with almond milk (thinking of Trevor’s milk allergy) and whole wheat flour (long story, but I made the cake during a snow storm and I ran out of white flour) with almond-flavoured buttercream. It was a little dense, but Trevor loved it.
Some things I learned in yesterday’s class:
1). After icing your cake, do you still see spatula markings all over the surface? My teacher had a great idea how to smooth it. Let the cake sit for 10 minutes to let the icing stiffen slightly, then place a sheet of parchment paper over the top of the iced cake and gently use the spatula over the paper to smooth out the creases and lines. I did it in the beginning of class and it made my icing look much more smooth and even.
2). Use a long piece of thread to drape over the iced cake to help line up your lettering before you write on your cake. This helps keep the words straight (something I didn’t have on me) and it is removed in a pinch with minimal markings to the surface of the cake.
3). Rather than having your roses laying flat on the cake, give them more dimension by places a small glob of icing (preferably the colour of the iced cake or the rose itself) on the surface of the cake and gently place the rose on top. I did that and it made the flowers stick out a bit more at different angles.
I was planning on taking the next level class right away, but they are all filled up until the beginning of April. Plus, I’m not sure what my schedule is going to be for the next couple of weeks, so I don’t want to commit to a class until I have a few other things in my life straightened out.
Have a great weekend!


That is so cool!
So will you be taking any more classes? I want to take classes that have to do with royal fondant.
Happy Baking!
Yaneri
Those roses are just beautiful! Nice job! And the cake looks very tasty.