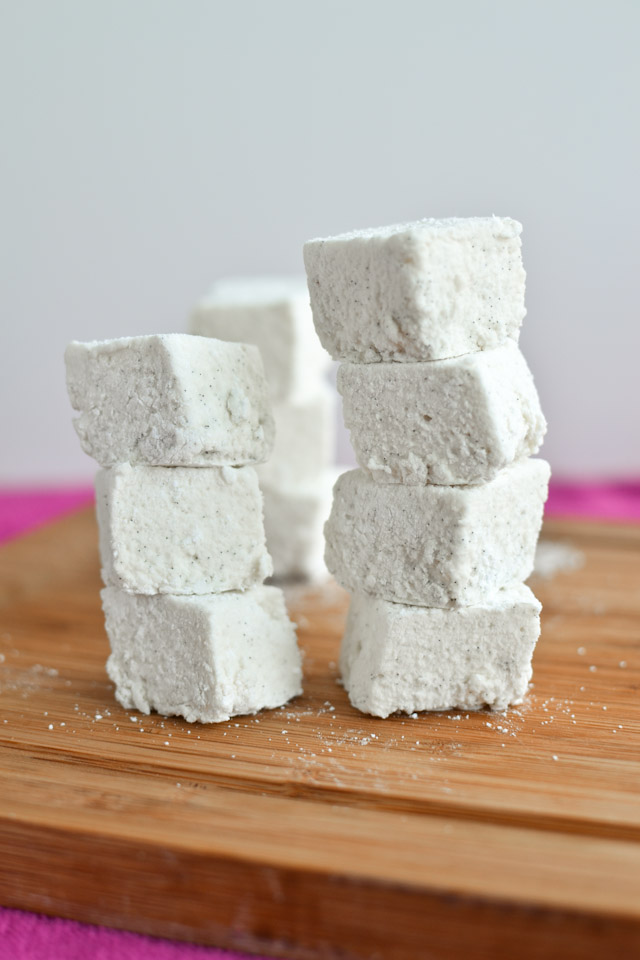
Homemade Vanilla Bean Marshmallows
So like a true sucker, I believed that the worst of winter was over. For the last few days I’ve been noticing that it’s no longer dark when I come home from work and the weather has been warm enough that I don’t require my mitts to already be on my hands before I step outside. I even broke out some of my spring dresses (worn with leggings) because I’m sick of my drab winter wardrobe. I’m not surprised that I’ve been let down though, considering it’s still February and what with my mom warning me about the never-ending snow they’ve been experiencing up in Northern Ontario. It was only a matter of time before the impending snow made an appearance down south as a roaring slushy mess (also known as a typical Toronto winter).
So to celebrate (if that is even the right word) this continuation of colder days to come, I thought I would share a fun recipe for homemade vanilla bean marshmallows. You know, to enjoy in your cup of hot chocolate after you shovel the driveway, dig out your vehicle or even if you just manage to get home in one snowy, wet piece. And if you happen to be blessed with warmer weather right now, I’m sure that these little guys would taste fantastic roasted over a bonfire and sandwiched between two graham crackers and a piece of chocolate.
Up until recently, making marshmallows from scratch seemed like a huge pipe dream. I was especially tortured by the fact that I have a soft spot for eating packaged marshmallows right out of the bag. Saving them for Rice Krispies squares? Not with me around, I’d polish off any bag within a ten-foot radius. So when I read that homemade marshmallows taste that much better than bagged marshmallows, I was all in.
One thing they don’t tell you is that making homemade marshmallows is really secretly just a test of patience. You wait for the sugar to boil and reach what is known as the “soft ball stage” (a candy thermometer is required, I picked up one for less than $5 at Kitchen Stuff Plus) and then you have to mix the sugar along with gelatin and water at a medium-high speed for about 10 minutes and pray that you did not screw up the boiling stage. Once the mixture resembles marshmallow creme, you then have to let the sticky mixture sit between 4-8 hours to let the marshmallows set. All these stages can be really difficult for someone like me who just wants marshmallows right now.
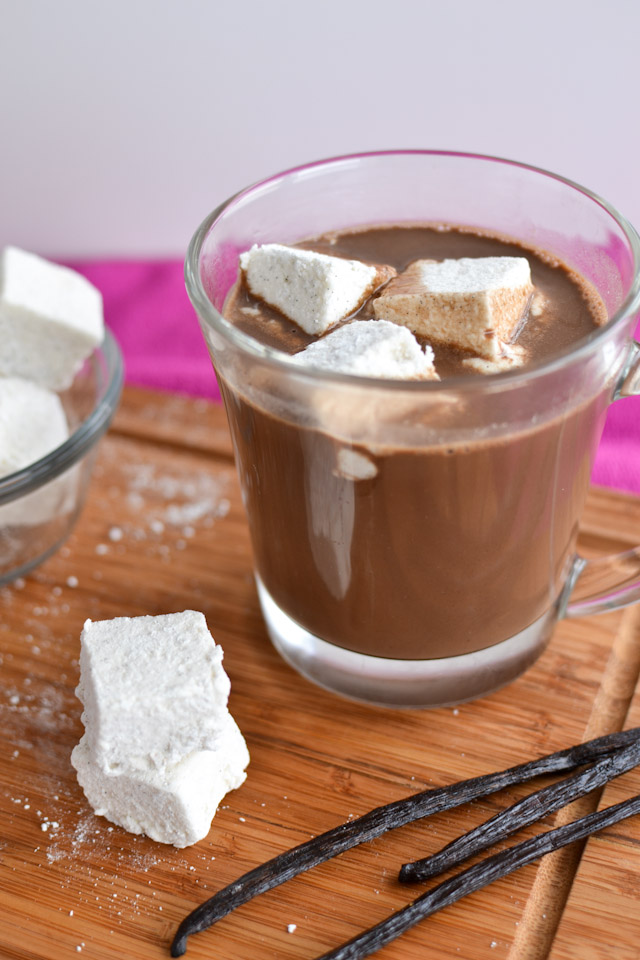
But if you are patient, the end result is fantastic. Seriously, bagged marshmallows do not even compare. The texture of a homemade marshmallow is so very soft and much fluffier than that of their grocery-store counterparts, so much so that I’m pretty sure this is what eating a cloud feels like. And when you put them in a cup of hot chocolate and they melt into a delicious white cream? It’s really fantastic. Almost makes you forget about the snow-mageddon outside your kitchen window.
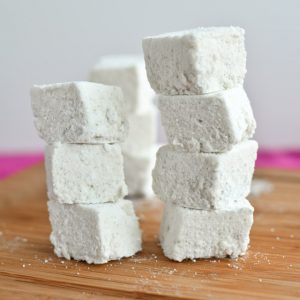
Homemade Vanilla Bean Marshmallows
Ingredients:
- 2 tbsp unflavoured gelatin
- 1 cup cold water
- 2 cups granulated sugar
- 2 tsp vanilla extract
- 2 vanilla beans
- Powdered sugar, for dusting and rolling
Directions:
- Line an 9×9 inch square pan with two pieces of parchment paper and dust with powdered sugar.
- Combine gelatin and 1/2 cup of cold water in a large stand mixer bowl. Set aside to soften.
- In a large saucepan, add granulated sugar and remaining 1/2 cup of cold water. Without stirring, bring the mixture to a gentle boil until the temperature reaches 240*F on your candy thermometer (the soft ball stage). Once this temperature is reached, immediately remove from heat.
- Carefully pour the hot sugar mixture into the mixing bowl with gelatin. The mixture may sizzle and foam and this is normal. Turn your stand mixer to medium-high and beat until the mixture doubles in volume and resembles marshmallow creme. This will take around 10 minutes and the mixture will ribbon once the beaters are lifted.
- While the mixture is beating, slice open the vanilla bean pods into two halves and scrape out the seeds. In the last minute of beating, add vanilla extract and vanilla seeds.
- Pour the mixture into your prepared pan and lightly dust with more powdered sugar. Leave the pan on the counter to set for 4-8 hours. You can leave it uncovered or cover with aluminum foil. I wouldn’t recommend plastic wrap because this will lock in moisture and then your marshmallows won’t dry out properly.
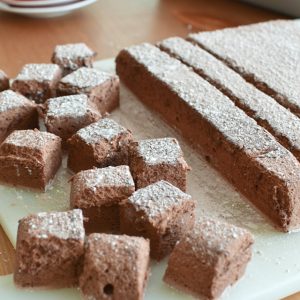
- Once your mixture has set, grab the edges of the parchment paper and lift out the whole marshmallow. Slice into squares with a pizza cutter and roll in powdered sugar. Store in an airtight container.
Oven gloves are highly recommended when handling the hot sugar mixture to prevent burns. A towel over your stand mixture may also be used to prevent splatters.
To prevent sticking, dust the pizza cutter in powdered sugar prior to cutting.
Recipe adapted from Cannella Vista


Eating a cloud, LOL! Love this!! I’ll add it to my “must-try” list! 🙂
I saw these on Tastespotting and was so excited to find a marshmallow recipe that doesn’t require corn syrup! I can’t wait to try this.
How much would you say this recipe yields? A 10 ounce bag or 20 ounce bag, etc. that you would buy at the store? Thank you!! Going to make 3 batches of rice Krispy squares so would like to know the yield to make the squares 🙂
Also, agree with Paula.
Note that sugar substitute likely won’t work– I attempted to make taffy last night with stevia and the temperature doesn’t go higher than 220 because of the sugar substitute (I’ve made the taffy before with regular sugar and it’s fine)
Never mind !Figured it out 🙂 Forty are needed for the squares and your recipe yields 45-50, so one batch per box of cereal.
http://www.ricekrispies.com/recipes/the-original-treats