Michael’s Basic Cake Decorating Class – Day 3
(To catch up, you can go back and read about Day 1 and Day 2 of my basic cake class).
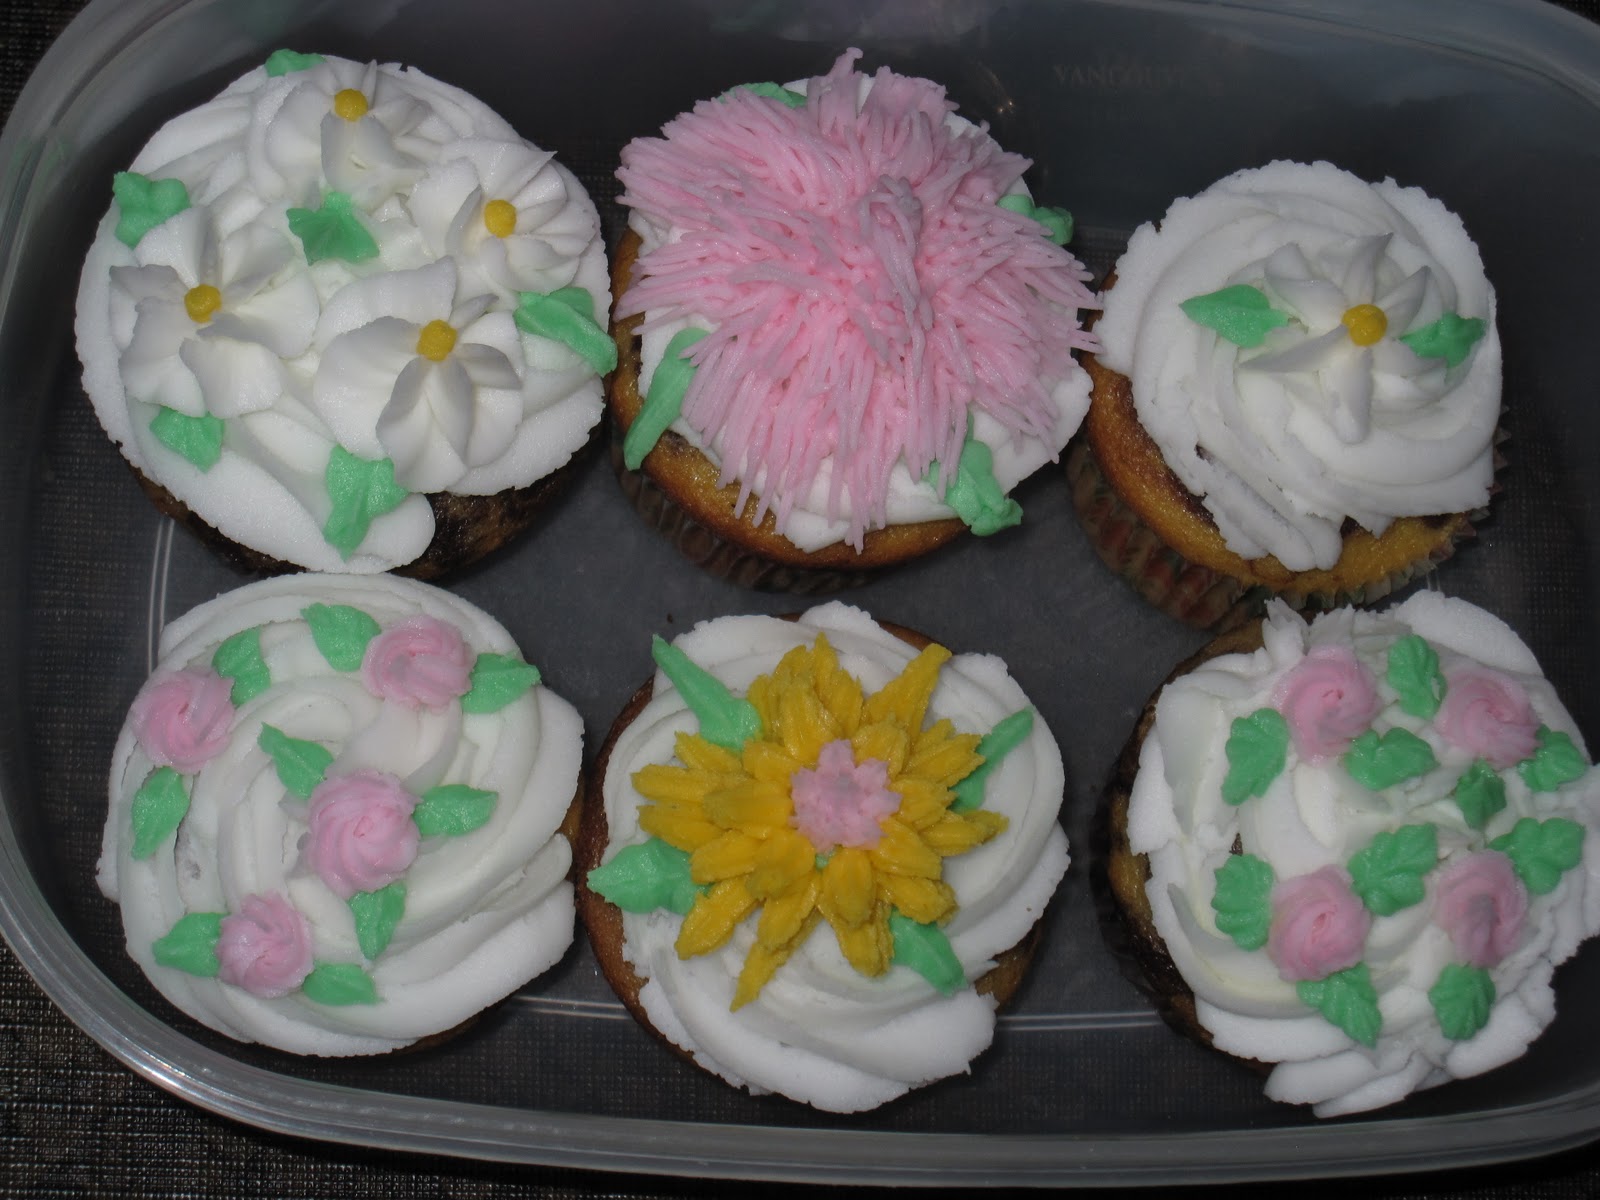
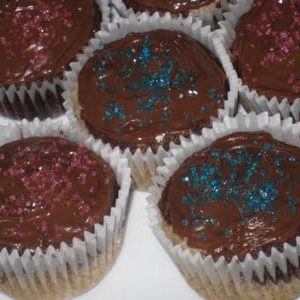
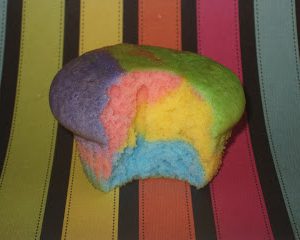
I can’t believe I decorated these cupcakes! Every time I look at them, I get a little giddy inside. Next week for the last class, we are doing a large cake again, but this will probably end up being my most favourite class out of the level 1 basic decorating classes.
We ended up using a lot of tips to create all the flowers and petals. I’ll go through them with you and link the techniques that are demonstrated on the Wilton website (although I highly recommend learning from someone, as they can help you correct your mistakes).
The recipe for the icing I used can be found here.
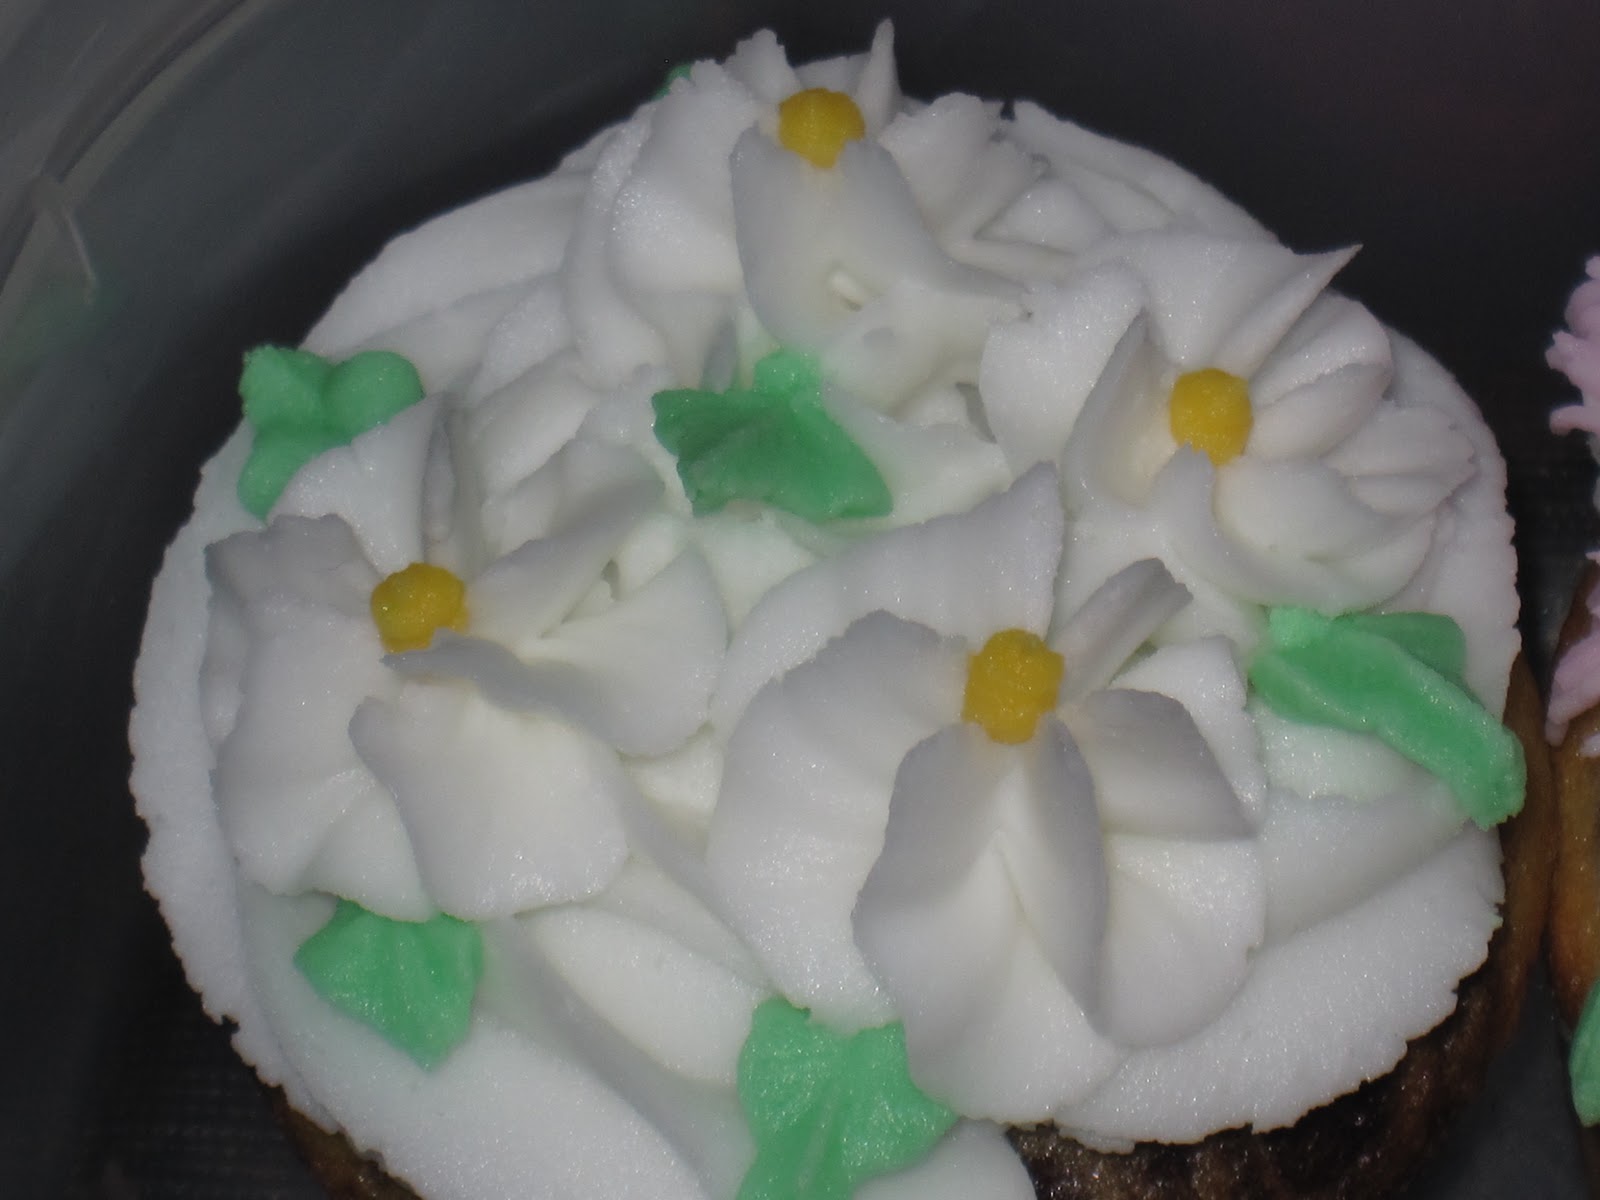
These are the swirl drop flowers, which use tip #2D and are unfortunately hard to see as I made the background and the flower petals both white (I didn’t feel like mixing another colour and using up another icing bag). Out of all the flowers, I can see myself using this the most, as it is easy and cute. The centers of the flowers were created with tip #3 and the leaves with tip #366 (more info below).

This is the shaggy mom flower, which uses tip #233. It’s most commonly used to make grass or fur on cake designs.

The star drop flower is similar to the first flower, the swirl drop flower, only you don’t turn the piping bag as you apply pressure. The same tip is used.

The rosette flower is pretty much a small circular flower made with tip #16. I found it to be the least interesting flower to make, as mine kept coming out looking like blobs, but I think a bunch in different colours would be very pretty.
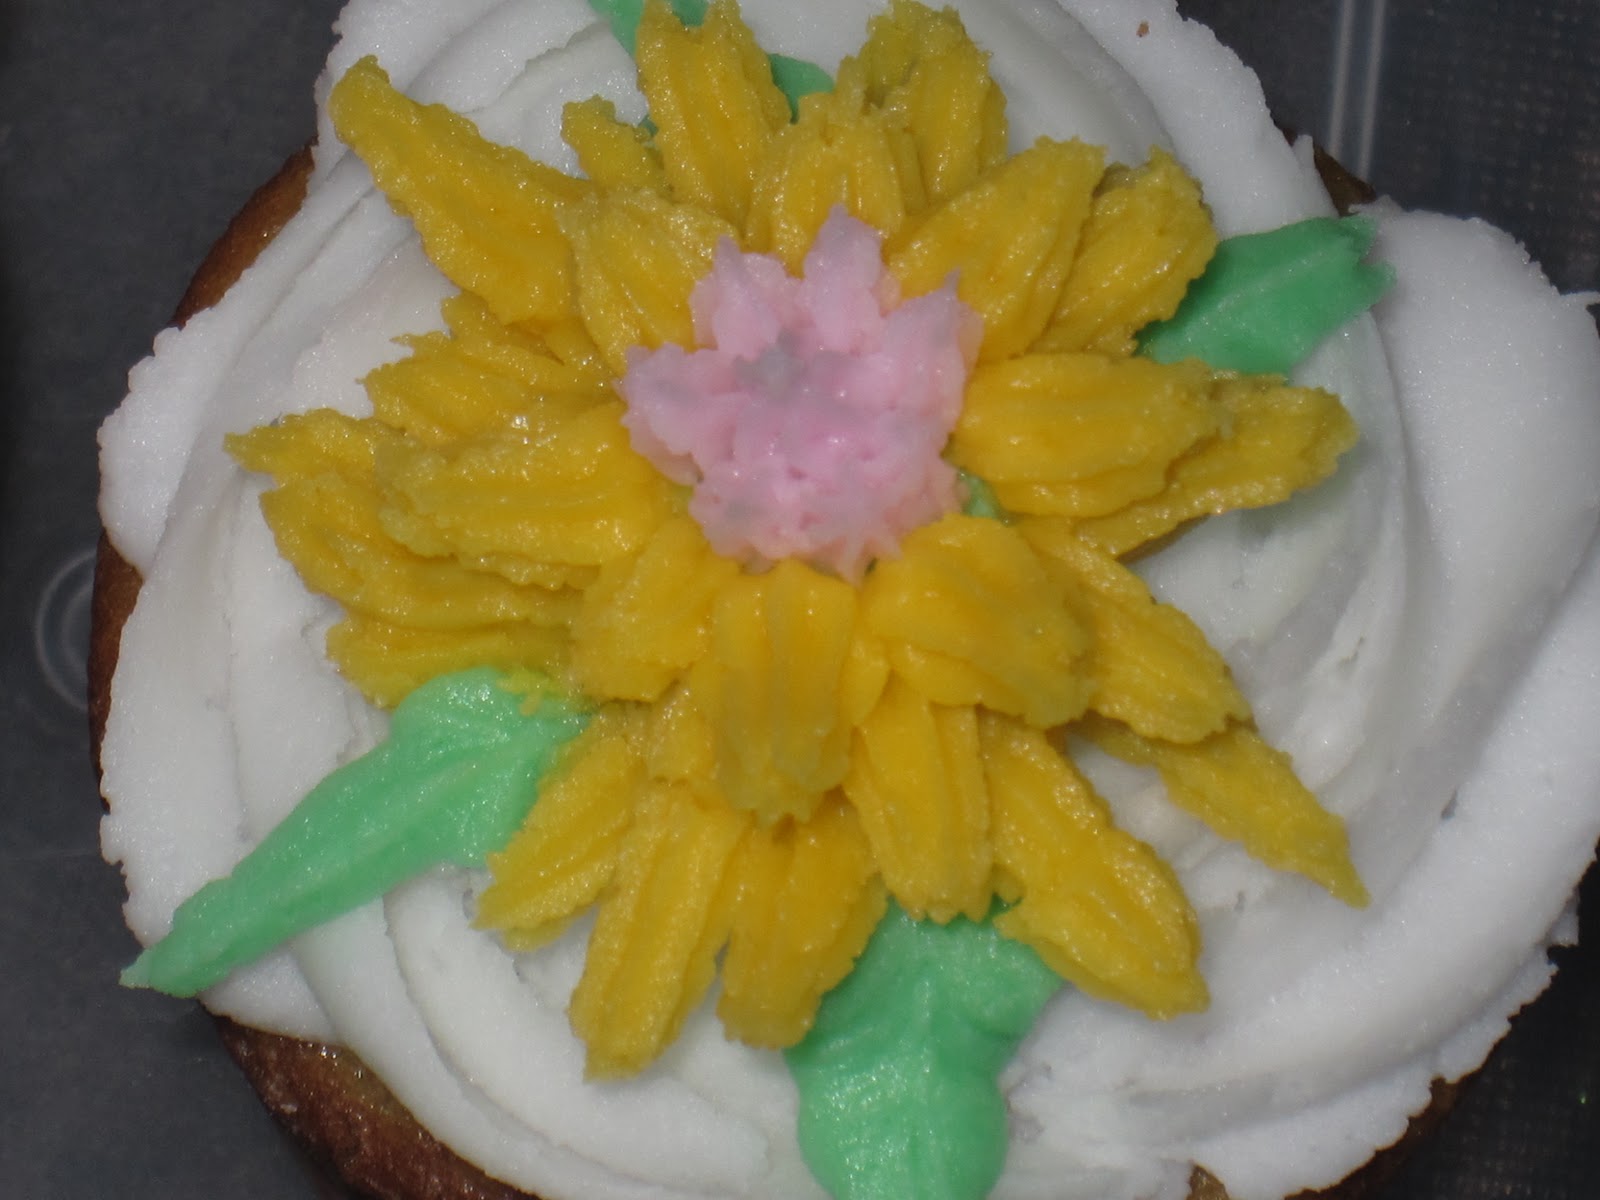
This is the pompom flower and here we got to use a square of parchment paper on a flower nail to make the flower before putting in on the cupcake. Three different tips were used, #12 for the base, #16 for the pink top petals and #18 for the yellow petals. I let the flower stiffen on the parchment paper before carefully transferring it to the top of the cupcake and adding leaves.
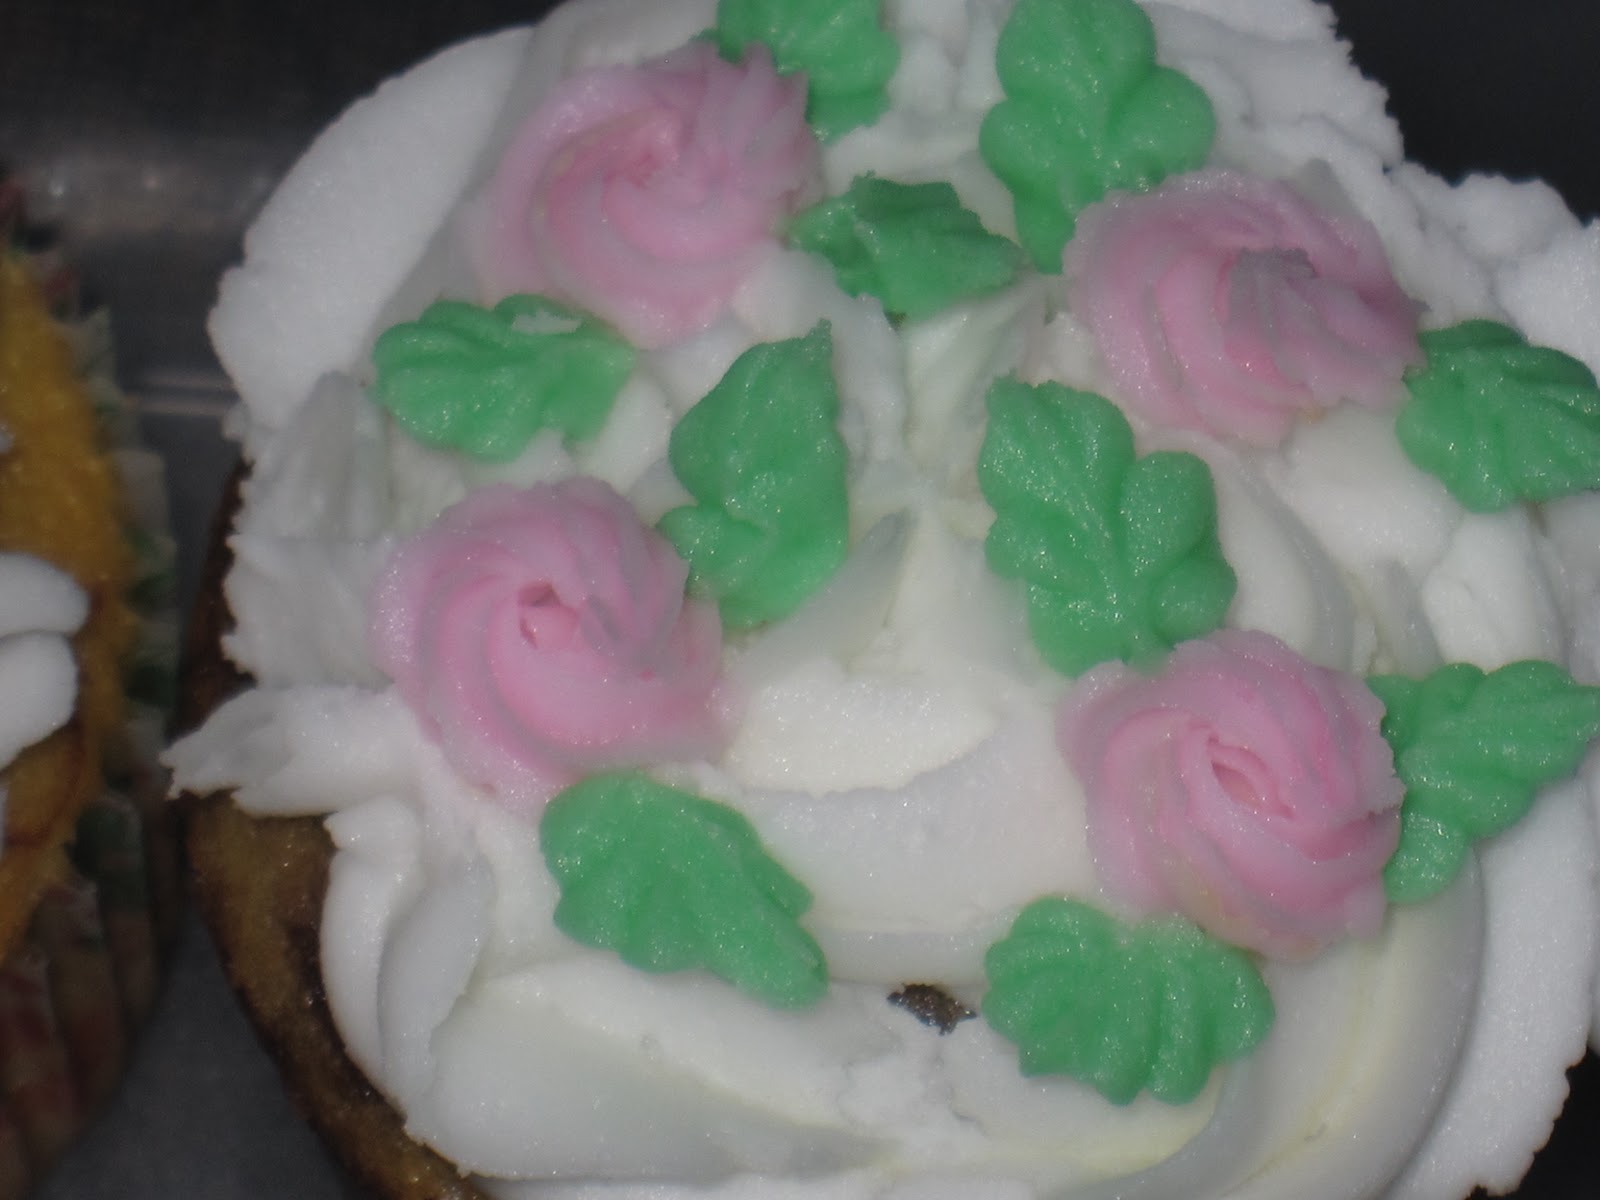
I did another rosette cupcake at the end of class to try out wavy leaves. We used tip #366, which looks like a little duck’s mouth. Just wiggle the piping bag as you apply pressure to create this technique
We also filled the cupcakes using tip #230 (I used more buttercream icing, as I forgot to bring something) and learned how to make border shells using tip #21.
Things I learned in today’s class:
1). The correct positioning of tip #366, which is used to make leaves. I used to think that the tip had to be straight up and down (the little “duck mouth” would be looking straight ahead). BUT the correct positioning is having the tip on it’s side (the “duck” would be laying on its side as though sleeping). I’m sure all you piping pros are rolling your eyes at me, but I’m so glad I figured this out. 🙂
2). The correct way to ice a cupcake! I wish I was joking, but I’ve always been terrible at covering the cupcake’s surface completely with icing. (Proof is in my last cupcakes post). The edges would stick out like sore thumbs and I would be sad. I thought the problem was that I wasn’t using a big enough tip – #1M – but it was actually my positioning. I used to grip the icing bag on it’s side as I iced it, when really the correct angle is a 90* angle.
*all you piping pros may notice that the swirl on my cupcakes look a little off in the pictures above and that’s because I technically didn’t use the proper #1M tip. Somehow between my second class last week and today, I misplaced that tip when I cleaned them all and I was forced to use my #2D tip instead. It still worked, but the edges were a little rougher and my instructor didn’t say anything.
3). To make the leaves look less like lines and more like fuller leaves, more pressure needs to be applied at the beginning of the leaf and then tapered off near the end.
I’m sad that my last class is next week, but they are looking to create more level 2 classes to keep everyone flowing along, with the same instructors and the same people in each class. Hopefully I’ll be able to continue this decorating journey!


Girl, you are sure rockin’ these cupcakes!! U go girl!! i’m so jealous….heheehe! Can’t wait to learn these tricks!! Awesome girl!!
Can’t wait to see how that cake comes along in your next class!! I’ll keep peeking for a new post!!
I added myself to google follower!
Yaneri
sweetbakesofmine.blogspot.com/