Fat or Skinny? The Peanut Butter Cookie Debate
I know that it’s already December and that I should really get my butt in gear for Christmas baking, but I couldn’t deny making a good peanut butter cookie recipe before I get lost in the usual gingerbread, shortbread and egg-nog type recipes.
Trevor also enjoys a good peanut butter cookie, dare I say, more-so than a typical Christmas cookie recipe. I think we just both needed to get this out of our systems before the holidays fully takes it’s hold on us.
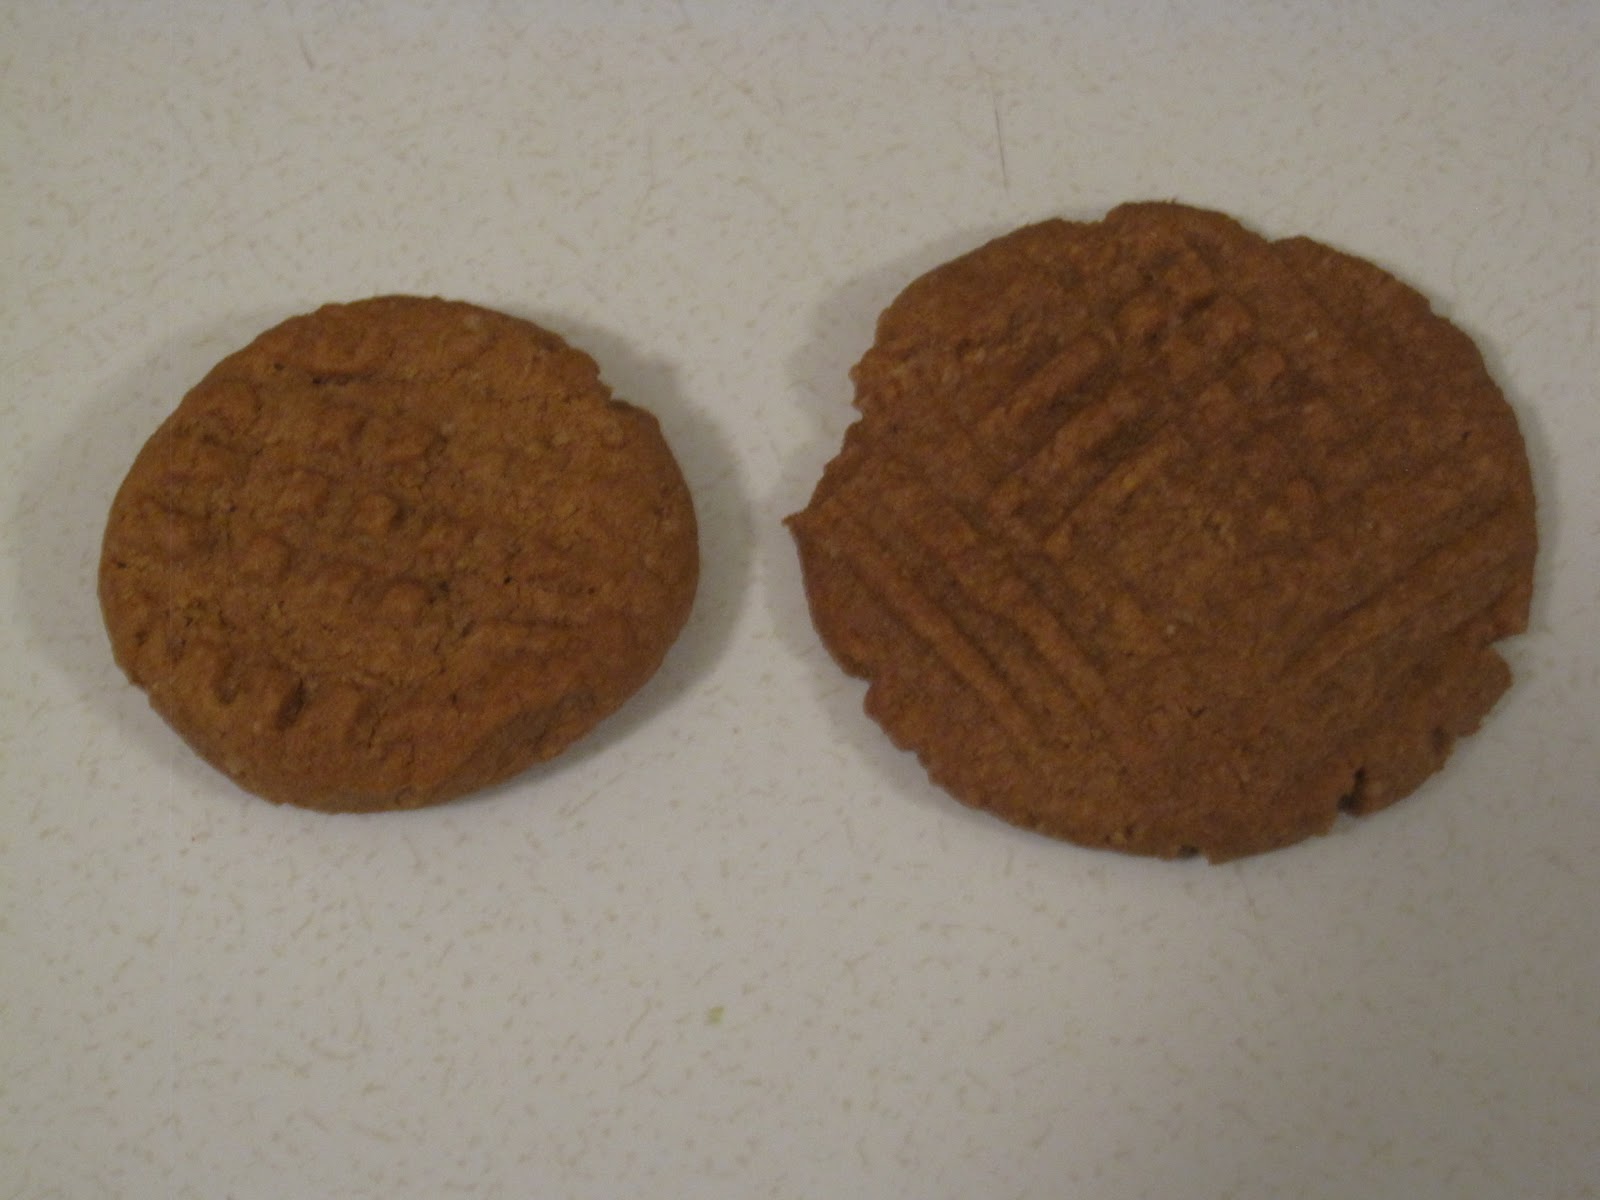
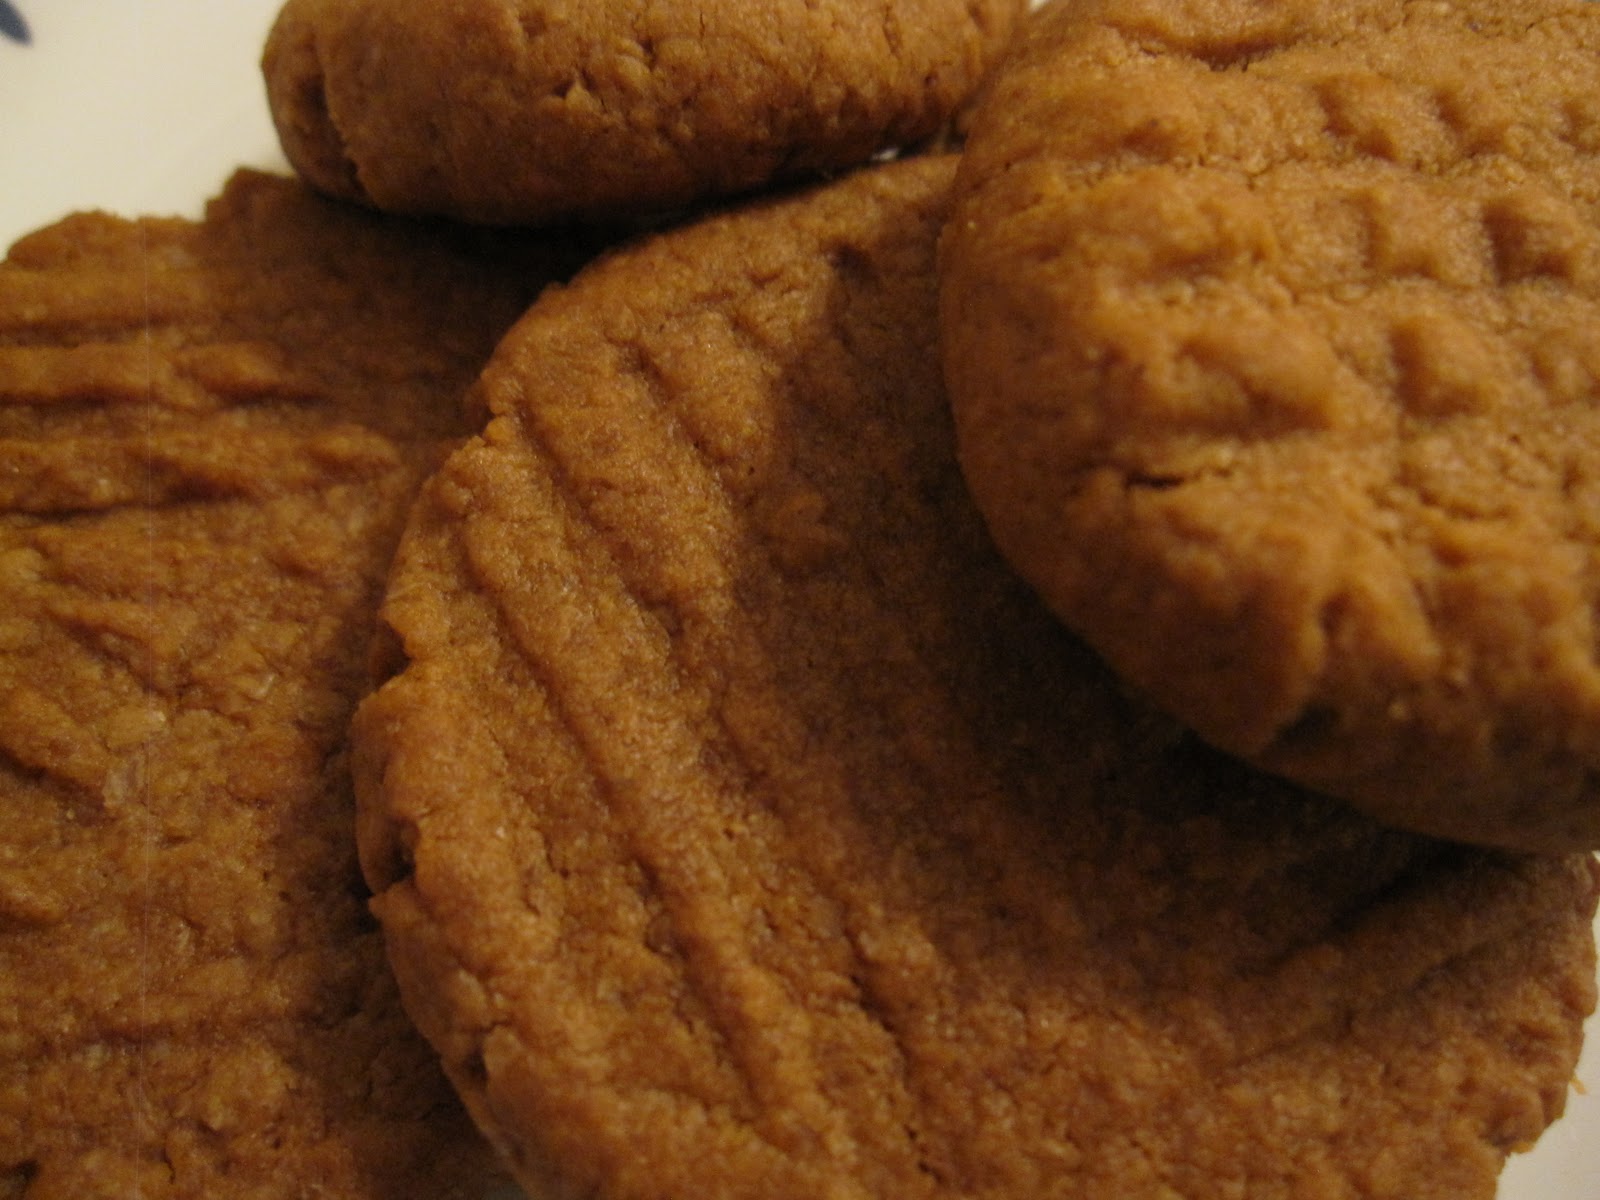
I’ve seen plenty of peanut butter cookie recipes, but the directions are always a little different. Growing up, our homemade cookies were of the fat variety, with criss-cross markings. Lately though, I’ve been seeing flatter cookies, usually squashed with a cup or mug before baking, but with the same markings. I knew that I had to try out both before I judged one over the other.
You’ll find that there is no salt in this recipe because I find most commercial peanut butters to be salty enough already. If you’re using real peanut butter from a health food store, feel free to add 1/2 tsp of salt for flavour. If you are using commercial peanut butter, you’ll definitely notice the extra addition of salt and I recommend that you omit it like I did.

I also have to share a great trick I learned for measuring molasses and getting it all out of my measuring spoons. Just spray a little non-stick cooking spray on the spoon before measuring out the molasses. It’ll slide right out when poured into your bowl and prevent the molasses from sticking. This is great for an easy clean-up.
Peanut Butter Cookies
Ingredients:
- 1/2 cup butter/margarine, room temperature
- 1/2 cup peanut butter
- 1/2 cup sugar
- 1 tsp vanilla
- 1 tbsp molasses
- 1 1/4 cups flour
- 2 tbsp cornstarch
- 1/2 tsp baking powder
Directions:
- Preheat the oven to 350*F. Beat together butter/margarine, peanut butter and sugar. Add vanilla and molasses.
- In a separate bowl, mix together flour, cornstarch and baking powder.
- Gradually add the dry ingredients to the wet to form a soft dough. Roll into 1 inch sized balls and place on a greased cookie sheet.
- Fat cookies: Using a fork, lightly press down on the cookie ball to create a criss-cross marking on the dough.
- Skinny cookies: Lightly press down on the cookie ball with a glass cup or coffee mug before adding the fork markings.
- Bake for 10 minutes until the bottom and edges are a light brown. Transfer from the cookie sheet to a wire rack to cool.
Recipe adapted from Vegan Cookies Invade Your Cookie Jar

So the what was the overall verdict? The fat cookies are definitely more nostalgic as I remember eating them as a kid. Since they are thicker, they seem more dense and filling to eat and remind me more of a shortbread texture. The flat or skinny cookies that were squashed before baking are crisper, chewier and more of a crunch is involved. Bonus – I found that they soak up more milk if you are so aptly inclined to pair the two together. I definitely felt that I was eating less when consuming the skinnier cookies though, so that kind of thinking may be dangerous to my waist-line in the long run.
As for me, I may end up squashing the peanut butter cookies. I can deny the chewier texture and now I think I found a delicious pairing with almond milk and peanut butter cookies.